
“`html
Handling Camera Shake: Tips and Techniques
In the world of photography, achieving sharp and clear images is the ultimate goal. Yet, camera shake often stands as an obstacle, resulting in blurry photographs that don’t do justice to the moment captured. This blog post explores the various aspects of camera shake, from understanding what it is, identifying its causes, and practical tips on how to prevent it. We’ll also discuss when slight camera shake can be artistically beneficial, and how to discern it from poor focusing. Whether you are a novice photographer or a seasoned pro, understanding these nuances can significantly enhance the quality of your photographs.
What is camera shake?
Camera shake refers to the motion-induced blur that occurs when the camera inadvertently moves during an exposure. This is particularly problematic in low-light conditions, long exposures, or when the subject or photographer is in motion. The resulting images tend to lack clarity, with edges appearing fuzzy or smeared.
Understanding camera shake is crucial for photographers who aim to produce sharp, high-quality photographs, especially when shooting handheld. Recognizing the symptoms and effects of camera shake is the first step in addressing this common photography challenge, ensuring that your images retain their intended impact and detail.
What causes camera shake?
Several factors can contribute to camera shake, with the most common being the difficulty in maintaining a stable grip on the camera. This often occurs when using slower shutter speeds, which allow more time for any slight movements to affect the image. Wind and other environmental factors can also exacerbate the issue, particularly for outdoor photographers.
Camera shake is also influenced by the lack of proper support. Without a tripod or stabilizing surfaces, photographers must rely on their hands to hold the camera steady—an inherently unstable method, especially after prolonged periods. Understanding these causes enables photographers to implement preventative measures effectively.
How to stop camera shake?
1. Use the image stabilization feature
Many modern cameras and lenses come equipped with an image stabilization (IS) feature, which helps counteract the motion that leads to blurry images. This feature is especially useful when shooting in low-light conditions or at slower shutter speeds without a tripod.
Activating the image stabilization function can significantly reduce the impact of camera shake. Some advanced systems automatically detect and compensate for movement, while others require manual activation—which might need a quick adjustment in your camera settings before each shooting session.
2. Use fast lenses or wide apertures if possible
Fast lenses with wider apertures (indicated by a lower f-number, such as f/1.8 or f/2.8) allow more light to hit the sensor, enabling faster shutter speeds. This reduces the time the shutter is open and, consequently, the impact of slight camera movements.
Photographers should consider investing in fast lenses if they frequently work in conditions susceptible to camera shake, such as concerts or theaters with low lighting. The ability to maintain a clear focus while using a faster shutter speed can make a tremendous difference in the quality of the outcomes.
3. Crank the ISO up
Increasing the ISO setting on your camera makes the sensor more sensitive to light, allowing for faster shutter speeds. While there is a trade-off with noise or grain in the image, a higher ISO can be a practical solution when shooting handheld in low-light situations.
The key is to find a balance between shutter speed and ISO to limit noise while mitigating the risk of camera shake. Many modern cameras handle high ISO with minimal noise, enabling higher sensitivity without sacrificing image quality.
4. Avoid zooming in
Using the zoom feature often amplifies any hand shake, making it more pronounced in the resulting image. The longer the lens, the more susceptible you are to camera shake, which is often noticeable in zoomed-in shots.
Where possible, move closer to your subject rather than zooming in, or use lenses with optical rather than digital zoom to lessen the effect of camera shake. This approach ensures greater control over the sharpness and clarity of your images.
5. Spray and pray
The ‘spray and pray’ tactic involves taking multiple shots in rapid succession, especially in challenging conditions where camera shake might ruin a single shot. By quickly taking several photographs, the likelihood of at least one image being satisfactorily sharp increases.
Though it requires more time in post-processing to eliminate subpar shots, this technique can raise your chances of capturing that perfect, sharp image when holding your camera steady proves difficult.
6. Consider camera size and weight
Smaller, lighter cameras can be harder to stabilize than those with a little more heft due to their lack of inherent physical stability. Holding heavier cameras can result in steadier shots, reducing the chances of unintentional movement.
Photographers may benefit from designing their camera kits according to the conditions in which they frequently work. Adding grip accessories or stabilizing gear may also help when using lighter cameras is unavoidable.
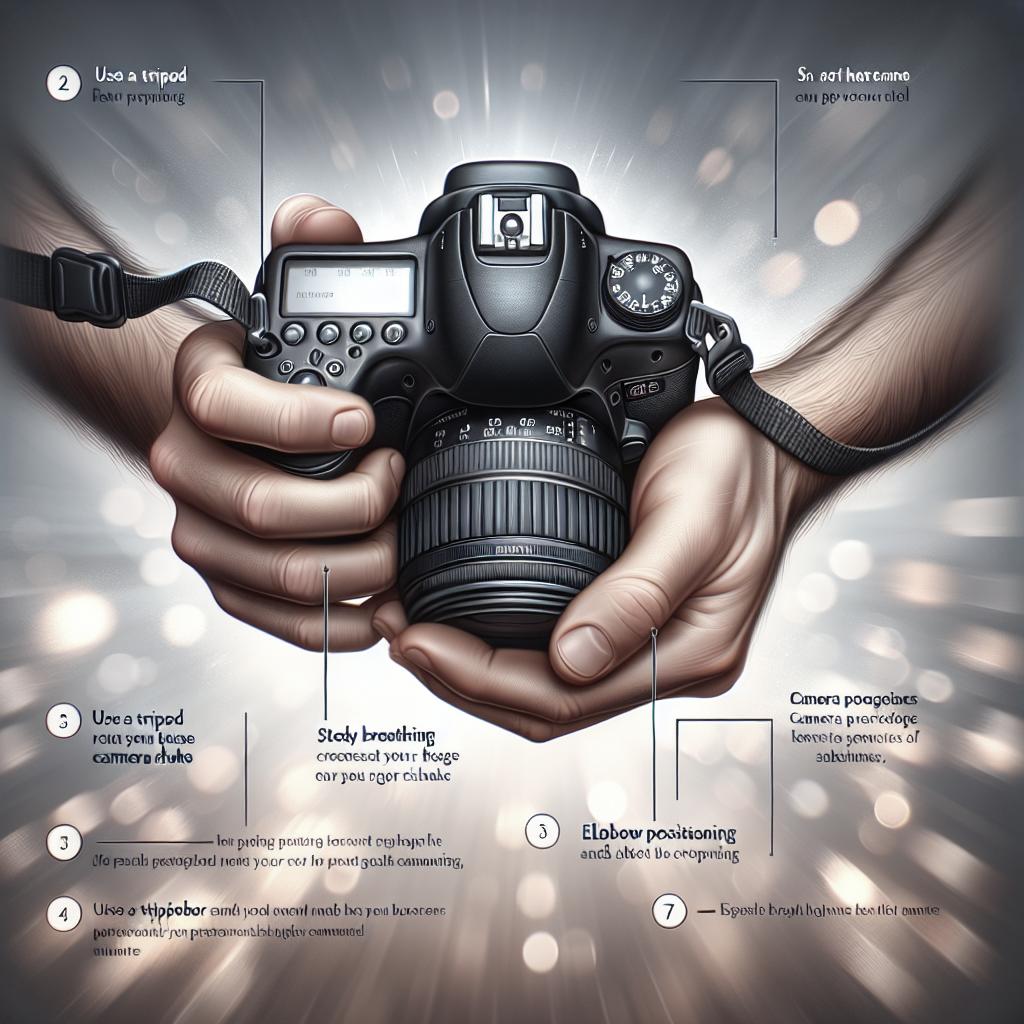
7. Improve photography posture
Stability starts with the photographer, and practicing good posture while shooting can be just as valuable as investing in gear. Hold the camera close to your body, tuck your elbows, and maintain a balanced stance to improve stability.
Implementing this practice routinely will make camera handling more intuitive, providing better control over the device. Additionally, personal awareness of body movement helps minimize unwanted shifts during critical moments.
Is there a reason to use camera shake?
While often considered a hindrance, intentional camera shake can be used creatively to produce abstract, dynamic images. Techniques such as panning, where the camera is moved to follow a subject, can create the illusion of speed within the photograph.
Artistic photography sometimes leverages this technique under controlled conditions, introducing motion blur to specific aspects of an image while maintaining clarity in others. The result can be uniquely captivating, showcasing a distinct sense of motion and energy.
How to tell the difference between camera shake and poor focusing?
Camera shake
Camera shake is typically characterized by overall motion blur throughout the image, affecting both the subject and the background. Blurriness tends to follow a pattern or direction that aligns with the movement made during the exposure.
To identify camera shake, look for these patterns and assess if the issue persists across multiple shots taken with similar settings. Familiarizing yourself with these signs will help distinguish camera shake from other issues affecting image quality.
Poor focusing
Poor focusing, in contrast, usually leads to subjects appearing soft or out of focus, while other parts of the image may remain sharp. This issue is typically isolated to the point of interest and is not as uniform as camera shake.
Issues with focusing are often resolved by adjusting the camera’s focus settings, whereas camera shake necessitates changes in how the camera is held or stabilized. Recognizing these differences ensures targeted solutions can be implemented quickly.
References
1. ExpertPhotography.com. (2023). Techniques to Overcome Camera Shake. [online] Available at: www.expertphotography.com/techniques-to-overcome-camera-shake
2. Digital Photography School. (2023). Tips for Controlling Camera Shake for Clearer Photos. [online] Available at: www.digital-photography-school.com/camera-shake-tips
Final thoughts
| Aspect | Key Points |
|---|---|
| What is Camera Shake? | Motion-induced blur from camera movement during exposure. |
| Causes of Camera Shake | Slow shutter speeds, lack of support, and environmental factors. |
| Preventive Techniques | Use of image stabilization, fast lenses, high ISO, good posture, and more. |
| Creative Use | Intentional shake for artistic effects, like panning. |
| Difference from Poor Focusing | Camera shake: uniform blur; Poor focusing: isolated softness. |
“`
