
“`html
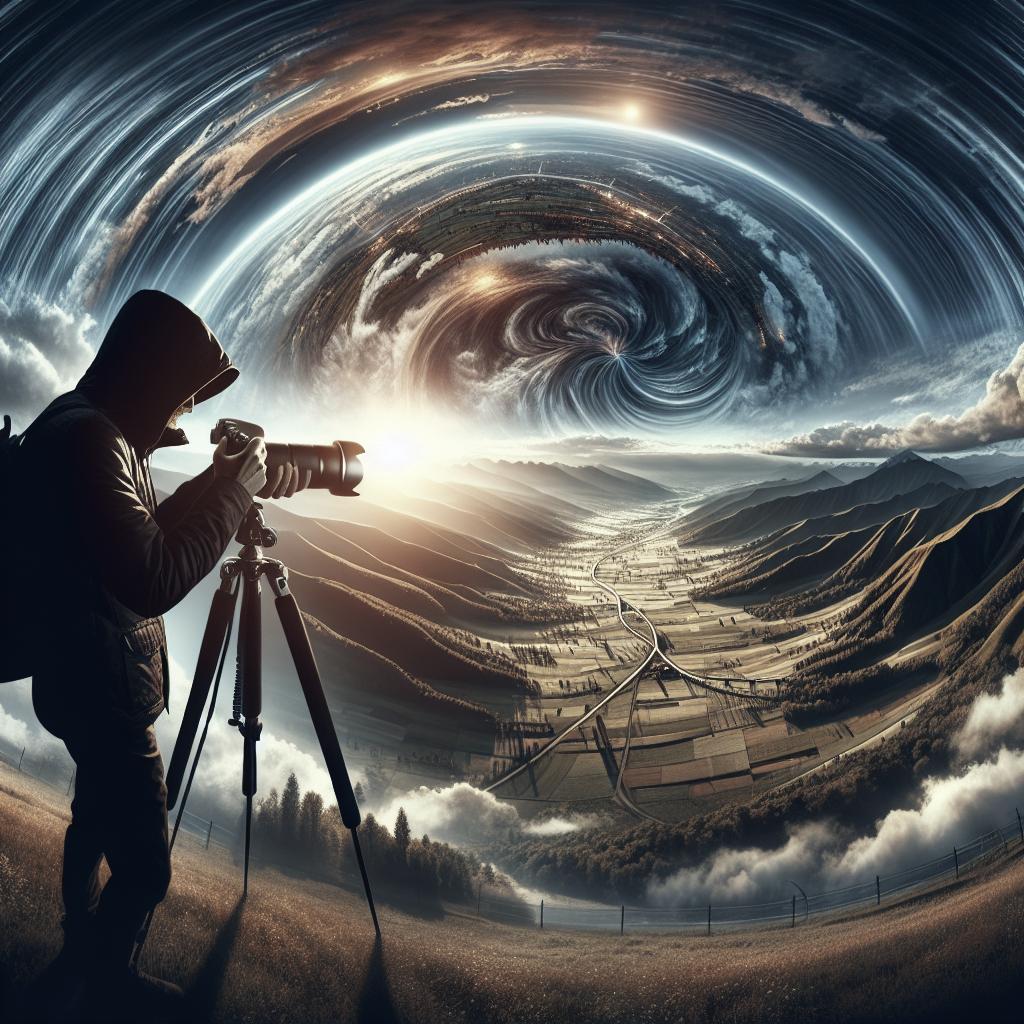
If you want to take panorama photos, this guide will show you everything you need to know!
Panoramic photography offers a mesmerizing way to capture wide, expansive scenes that are often impossible to fit into a single frame. Whether you’re a budding photographer or an experienced shutterbug, mastering panoramic photography can elevate your visual storytelling skills. This guide will introduce you to the essentials of panoramic photography, including what defines the technique, the different types of panoramas you can explore, and step-by-step methods to capture stunning panoramic shots. You’ll also discover how to stitch images together using software and overcome common challenges associated with shooting panoramas. Let’s dive into the world of panoramic photography and enhance your photography portfolio with immersive, wide-angle vistas.
1. What is Panoramic Photography?
Panoramic photography, often referred to simply as panoramas, is the technique of capturing images with elongated fields of view. The primary goal is to create a photograph that covers a wide angle, typically achieved by stitching multiple frames together side by side. This style of photography is perfect for scenes that are too grand to be captured in a single shot, such as cityscapes, mountain ranges, or large group photos.
At its core, panoramic photography pushes the boundaries of traditional photography by providing a broader perspective of the scene. Panoramic images can come in various aspect ratios, but the most common are wide-aspect formats. Whether crafted through digital manipulation or captured using specialized panoramic cameras, panoramas allow photographers to encompass the breadth and grandeur of landscapes in a single presentation.
2. Types of Panoramas
There are several types of panoramas that photographers can explore, each offering a unique way to present a scene. The most common type is the horizontal panorama, where images are stitched together along the horizontal axis to create a wide-angle view. This type is ideal for landscapes or any scenes where the horizon plays a critical role.
Vertical panoramas, on the other hand, are ideal for capturing tall structures or features such as skyscrapers or waterfalls. Then there are 360-degree panoramas that encourage an immersive experience by capturing the entire surrounding environment. Spherical panoramas take this a step further by covering not just the horizontal plane but the entire sphere, creating immersive virtual reality environments.
3. How to Photograph Panoramas
Capturing a seamless panoramic image involves a combination of technique and equipment. First, you’ll need a camera with manual settings, a reliable tripod to ensure stability, and ideally, a panoramic head to maintain consistent angles across shots. Start by setting your camera to manual mode to lock exposure and focus settings, which helps to avoid discrepancies when the images are stitched together.
When shooting a panorama, overlap your images by about 20-30%. This overlap is critical for the software to accurately align the images. Ensure your camera is level and sweep from one end of the scene to the other, taking multiple shots along the way. Take note of the lighting conditions as any changes in light can affect the final stitched image. Practicing patience and precision in the shooting stage can significantly enhance the results when it’s time to stitch your images together.
4. Stitching Panoramas in Software
Once you’ve captured your images, the next step is stitching them together using photo editing software. Popular choices include Adobe Photoshop, Lightroom, and dedicated apps like PTGui or Hugin. Each of these programs offers different tools to align and merge your images into a cohesive panorama.
The stitching process typically involves importing your sequence of images and using the software to automatically align and blend them. Advanced programs allow for manual adjustments to correct any misalignments or exposure differences. Pay close attention to details such as the horizon line and any visible seams, as these can detract from the overall effect. Once stitched, you can perform additional editing such as cropping and color correction to enhance the visual appeal of your panorama.
5. Challenges with Panoramic Photography
Panoramic photography poses several challenges that photographers must navigate. One of the primary issues is dealing with distortion, especially with wide-angle lenses that can warp the edges of your images when stitched. Maintaining consistent lighting across all frames can also be difficult, particularly in outdoor settings with shifting light conditions.
Another common challenge is achieving sufficient overlap between frames to ensure a seamless transition. This requires precise camera handling and an understanding of how much overlap is needed for effective stitching. Finally, the technological aspect of stitching can be daunting, with each software offering a learning curve. Tackling these challenges with a strategic approach can significantly improve the quality of your panoramic photography.
Related Articles
- Understanding Exposure in Photography
- Mastering Composition for Photographic Excellence
- Essential Post-Processing Tips in Lightroom
Next Steps
| Aspect | Summary |
|---|---|
| What is Panoramic Photography? | A technique to capture wide, elongated fields of view by stitching multiple frames together. |
| Types of Panoramas | Includes horizontal, vertical, 360-degree, and spherical panoramas, each offering a unique visual experience. |
| How to Photograph Panoramas | Utilize manual camera settings, a tripod, and ensure 20-30% image overlap for seamless stitching. |
| Stitching Panoramas in Software | Use software like Photoshop or PTGui to align, merge, and refine your panoramic images. |
| Challenges with Panoramic Photography | Handling distortion, maintaining light consistency, and ensuring adequate frame overlap. |
“`
