
“`html
How to Create a Mood Board for a Shoot
Creating a mood board is an essential step in planning a successful photoshoot. It is a visual tool that helps convey the creative direction and aesthetic preferences of a project. This blog post explores the steps involved in crafting a mood board, from determining the aesthetic to the final arrangement. We’ll guide you through the process of gathering inspiration, organizing elements, and effectively communicating your vision. Whether you’re a professional photographer or a hobbyist, learning to construct a mood board can bring clarity and direction to your creative projects. Discover how to visually articulate your ideas to ensure cohesive results in your shoots.
Creating a Mood Board Photography
Determine an Aesthetic
The first step in creating a mood board for a photography shoot is determining an aesthetic. This is the blend of visual elements that will define the overall vibe or theme of your photo session. Consider what emotions you want to evoke and the story you wish to tell through your images. Perhaps you’re aiming for a romantic, whimsical look with soft pastels and delicate textures, or maybe a bold, modern style with sharp contrasts and vibrant colors.
Deciding on an aesthetic involves exploring various styles and reflecting on the mood you want to create. Analyze the elements that appeal to you and envision how they can be seamlessly integrated into your shoot. Your aesthetic will serve as the guiding principle for all decisions, from location and lighting to wardrobe and props.
Mood Board Photography Tutorial
Research & Inspiration
With your aesthetic in mind, the next phase is gathering research and inspiration. Dive into magazines, photography books, online platforms like Pinterest and Instagram, and even films or artworks. Save images, textures, colors, and quotes that resonate with your chosen style. This stage is about exploration and discovery, allowing your creativity to flourish and new ideas to form.
As you collect elements, organize them into themes or categories that align with your vision. This collection will form the foundation of your mood board and guide subsequent planning stages. Keep an open mind during this process, staying receptive to unexpected sources of inspiration that may enhance your shoot’s narrative.
Assemble the Mood Board
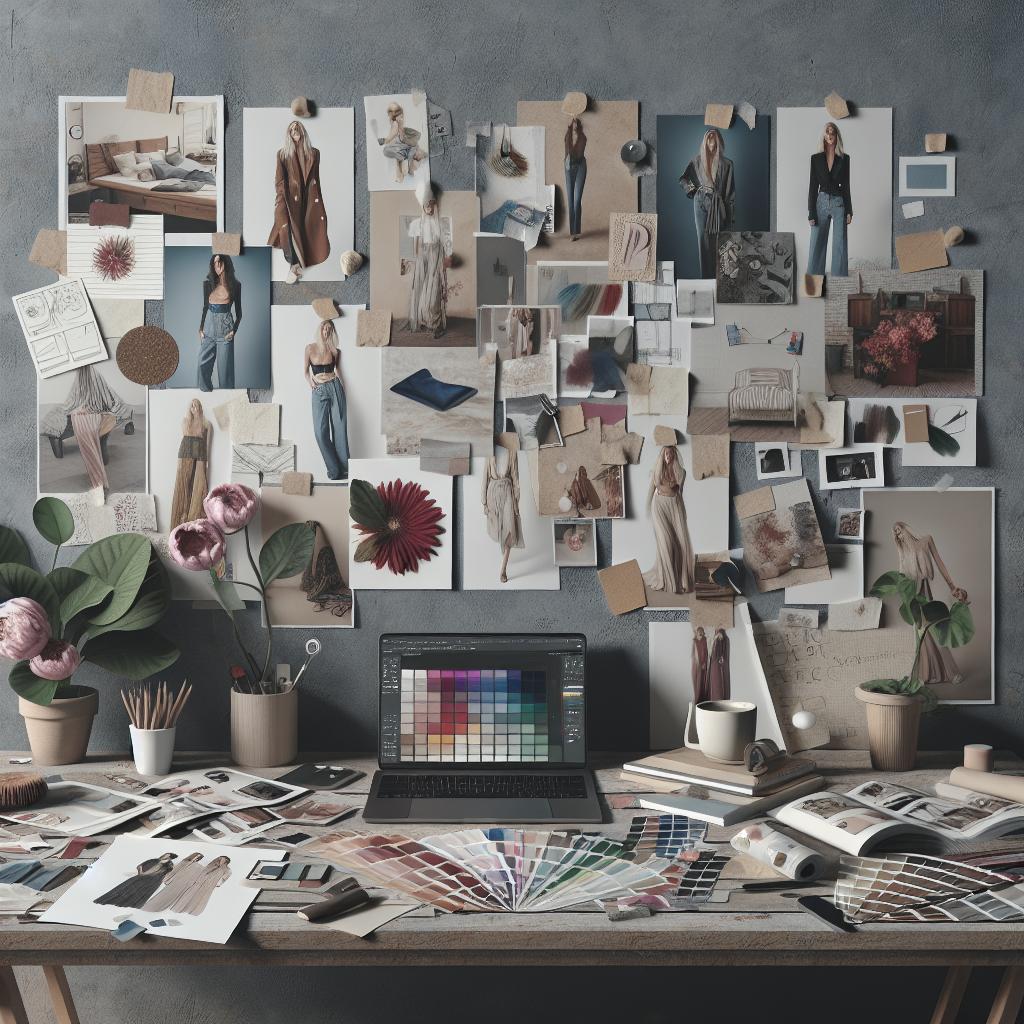
After gathering your research, it’s time to assemble the mood board. Decide whether you prefer a physical or digital mood board. Physical boards may include printed photos, fabric swatches, and sketches pinned on a corkboard, while digital boards often utilize design software or apps for a streamlined approach. Arrange the elements in a manner that clearly communicates your concept.
Group images by color, theme, or mood, and ensure a logical flow that narrates your shoot’s story. Incorporate notes or labels to elaborate on specific elements or ideas, and make sure the mood board encapsulates the essence of your project. This organized visual representation will act as your project blueprint, aiding in communication with collaborators and ensuring alignment with your creative vision.
Mood Board Photography Assembly
The assembly process is where your vision begins to take tangible form. Refine your selection of images and elements by prioritizing those which most accurately convey the desired mood. This may involve some trial and error, experimenting with different combinations until you achieve the intended vibe.
Utilize visual hierarchy to highlight the most important aspects of your aesthetic. For instance, you can emphasize a particular color scheme or texture that plays a central role in your shoot. Remember that the mood board is a flexible tool; don’t be afraid to iterate and make modifications as your project evolves.
Showcase Your Vision with Elegant Shot Lists and Storyboards
Once your mood board is complete, elevate your planning with shot lists and storyboards. Shot lists detail the specific photography moments you aim to capture, guiding the flow of the shoot. Storyboards take this a step further by visualizing sequences, helping to pre-plan compositions and angles.
These tools work hand-in-hand with your mood board, providing a comprehensive overview of your project. They ensure that every aspect of your shoot is well-thought-out, minimizing on-the-fly decisions during the session. Collaborate with your team members to refine these tools, ensuring everyone is in sync before the camera rolls.
Related Posts
Continue exploring the art of photography and project planning with our related posts. Discover more on perfecting your photography skills and learn about innovative techniques to boost your creative endeavors.
Explore articles on photography location scouting, lighting techniques, and tips on mastering the art of portraiture. Each post provides valuable insights, whether you’re refining your craft or venturing into new photography realms.
Up Next
Creating an Aesthetic Mood Board
Ready to dive deeper into creating mood boards? Our next article covers advanced techniques for crafting aesthetic mood boards that leave a lasting impression. Learn to harness design principles, master color theory, and convey complex narratives through powerful visuals.
Stay tuned to enhance your skills, discover inspirational projects, and achieve consistency across your photographic endeavors.
Final Thoughts
| Section | Description |
|---|---|
| Creating a Mood Board Photography | Explore the aesthetics and visual elements that define your shoot’s vibe. |
| Mood Board Photography Tutorial | Learn how to gather and organize research and inspiration effectively. |
| Mood Board Photography Assembly | Discover the process of arranging and refining elements for clarity in communication. |
| Showcase Your Vision | Utilize shot lists and storyboards to bring precision and cohesiveness to your shoot planning. |
“`
